

An Emergency at Sea: How I Repaired My Hull to Return to Port
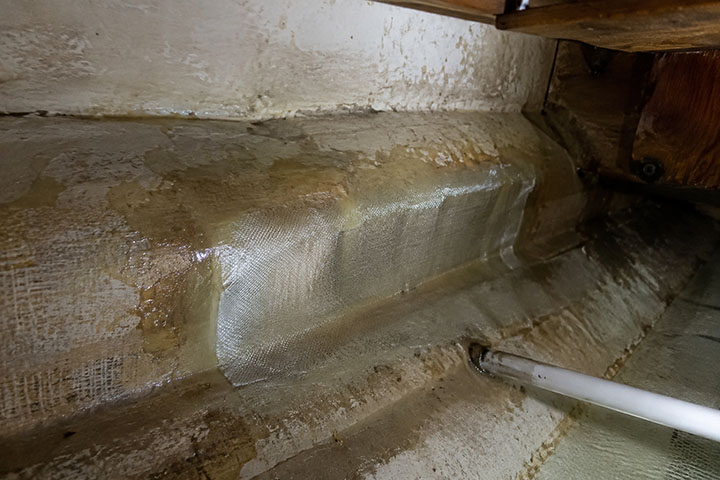
A trip out at sea can quickly take an unexpected turn. While sailing, I struck an unidentified floating object. At first, the impact did not seem particularly serious, but after inspecting the boat, I discovered water leaking through the hull.
Of course, working in ideal workshop conditions or achieving a perfectly dry surface was out of the question. I needed to find a solution to quickly secure the damaged area and make it safely back to port.
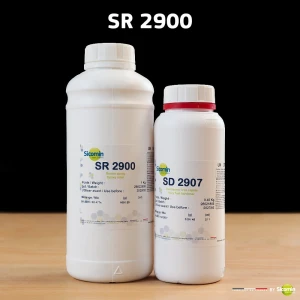
Fortunately, I had the SR 2900 / SD 2907 epoxy system on board, along with fibreglass fabric and the necessary equipment to carry out an emergency composite repair.
Step One: Identify and Prepare the Damaged Area
First, I needed to assess the extent of the damage and make the affected area accessible.
As the hull was still wet, obtaining a perfectly dry surface was impossible. I therefore started by carefully wiping the area with a clean cloth to remove as much surface water as possible, as recommended when applying the system to a wet substrate.
Step Two: Prepare the SR 2900 / SD 2907 Epoxy System
Once the area was prepared, I moved on to mixing the resin.
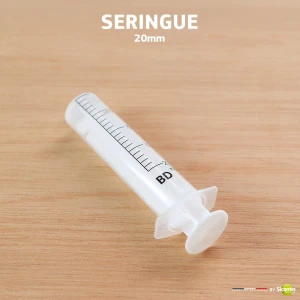
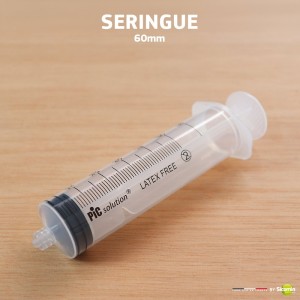
Using two syringes and the 2:1 mixing ratio, I was able to measure and prepare the resin accurately, even on board a moving boat.
I chose to prepare several small batches rather than one large mixture to prevent the resin from curing too quickly before I had time to apply it.
Step Three: Seal the Crack
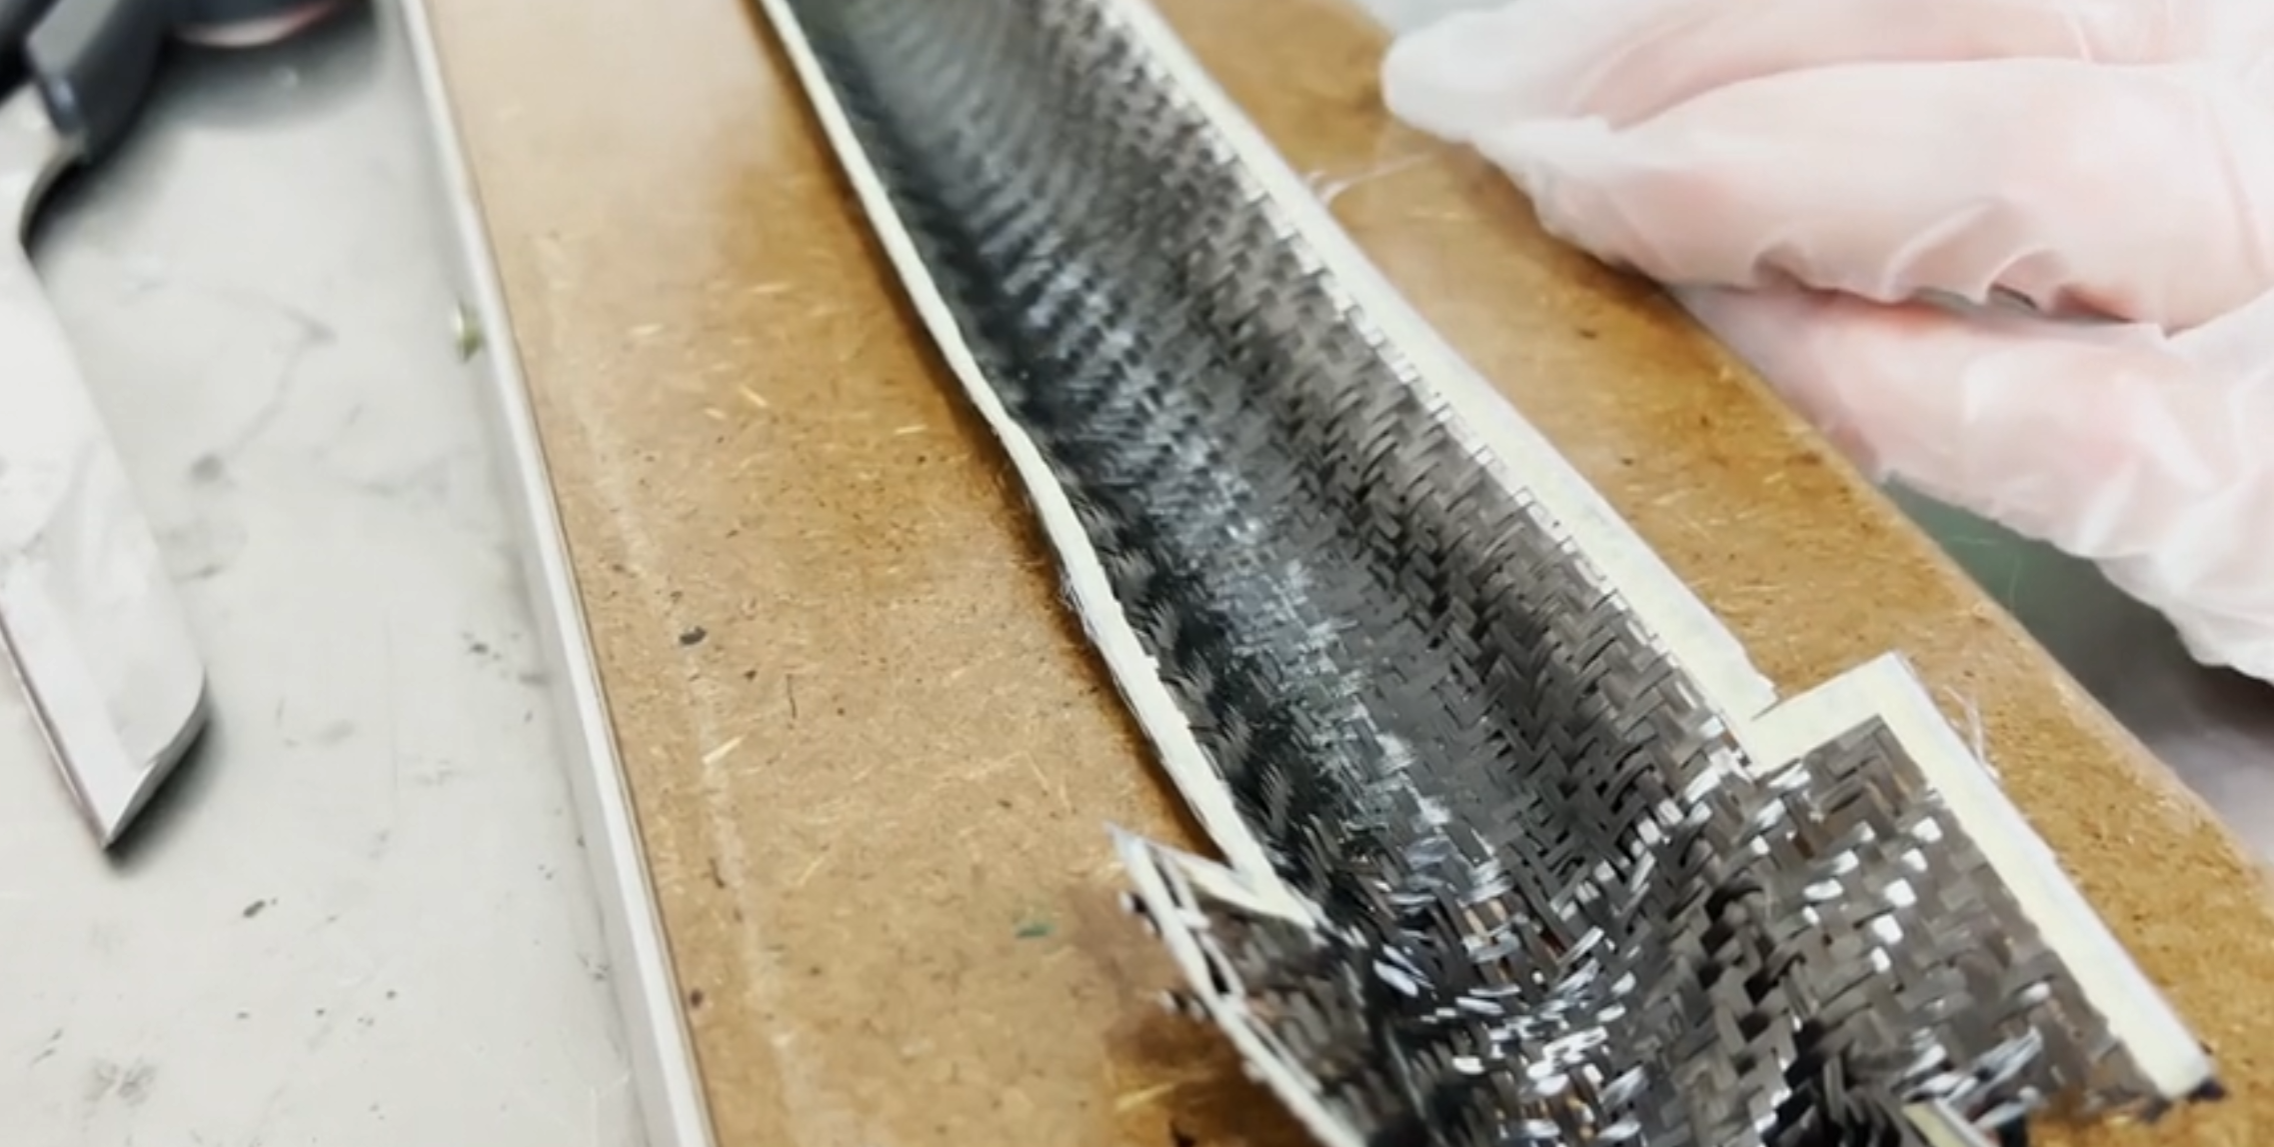
Given the extent of the damage, simply applying resin to the affected area was not enough. I needed to reinforce the repair with a laminate.
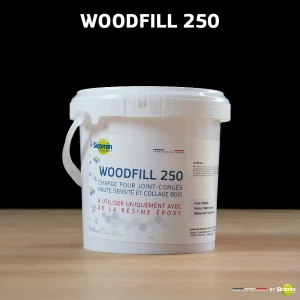
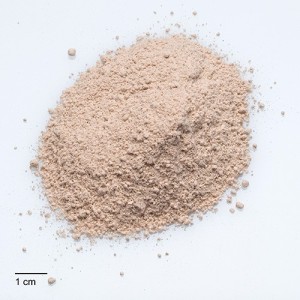
I added a filler to the epoxy mixture to create a paste that I could spread into the crack to help reduce water ingress.
Step Four: Apply the Repair to the Hull
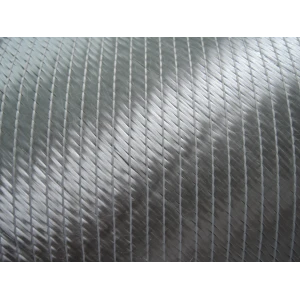
I then used the SR 2900 / SD 2907 epoxy system together with my fibreglass fabric.
To work as cleanly as possible, I used a plastic sheet to help impregnate the fabric with resin and apply it to the repair area.
I thoroughly saturated the fibreglass with resin before positioning it over the damaged section of the hull.
This is where the SR 2900 system really proved its value.
The area was still exposed to water, but the system is specifically designed to cure underwater.
Once the fibreglass was in position, I carefully pressed it against the hull and smoothed the surface using a spatula. The plastic sheet also helped protect the repair from water splashes as much as possible during the operation.
An Emergency Repair at Sea
Just a few hours earlier, I certainly had not expected to carry out a repair in the middle of a trip.
But situations like this are precisely where the SR 2900 / SD 2907 epoxy system demonstrates the benefits of a product developed for conditions that are far from ideal: moisture, immersion and the need to act quickly.
Once the damaged area was secured, I was able to resume sailing cautiously and return to port, where the boat could then be inspected and any necessary repairs completed under better conditions.
What I Learned from This Experience
This incident reminded me that, at sea, it is difficult to predict the conditions in which a repair may need to be carried out.
Having an epoxy resin suitable for wet substrates, a hardener, fibreglass fabric, a filler and the necessary application equipment on board can provide a practical solution when an emergency repair becomes necessary.
When faced with damage far from the workshop, that is exactly what you need from an emergency repair epoxy system.
Tagged in Réparation de bateaux en époxy